
Progress - August 29, 2005
 I mentioned that I had stored the body tub up on some sawhorses, so here is a picture of it. This last weekend I did some garage reorganization, and moved my 66 VW outside for a bit - not too popular with the wife, but shouldn't be for more than a week or two. Anyway, this freed up two garage bays for the frame work, and lets me put the rotisserie crossways to the garage, making it a lot easier to maneuver around.
I decided to go back to the flux core weld wire for the frame work, as I need to have 3 fans blowing in the 96-degree Texas heat to keep things bearable, and the gas mig doesn't like wind a lot. Also, for some reason, Welding Depot sent me a regulator that only goes down to 5 cfh, but the Clarke instruction manual says to set gas flow to 2 - 4 cfh. Consequently, I think I am using too much gas, even with the knob adjusted to the minimum (or below). I think my cheap helmet is making it hard to see the weld bead, so I may have to upgrade soon.
 Here is a picture of the fixture I used to lift the body tub off the chassis. With the engine hoist and this bit, it was an easy one-man operation. When I reinstall the painted tub, I will pad the curved end pieces.
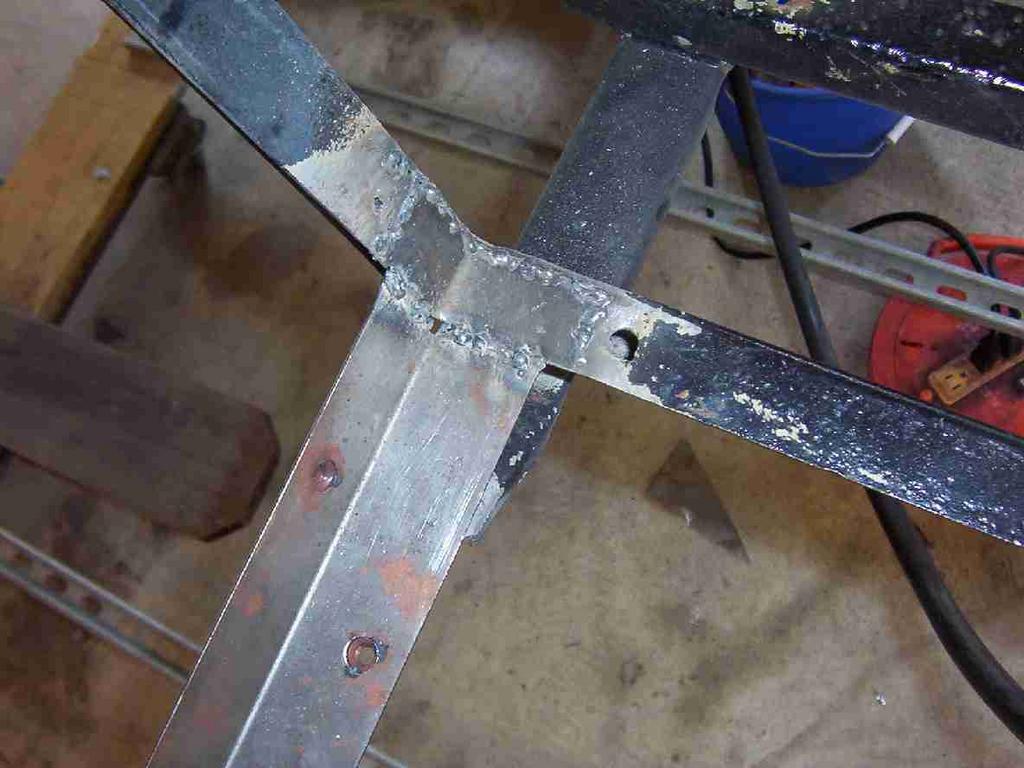
I made fairly good progress on installing the floorboard rails in the cockpit area. They are a little bit complicated in the rear corners because of the wedge piece that hangs below the frame to catch the rear of the rails. There is some cutting and fitting necessary to work around the upper part of the spring hanger, keep the bottom edge level, tie in to the lower spring hanger, etc. I botched the fit-up a little on the driver's side, so the wedge piece wasn't flush to the frame underneath, but cut the welds loose and "adjusted it with a hammer.
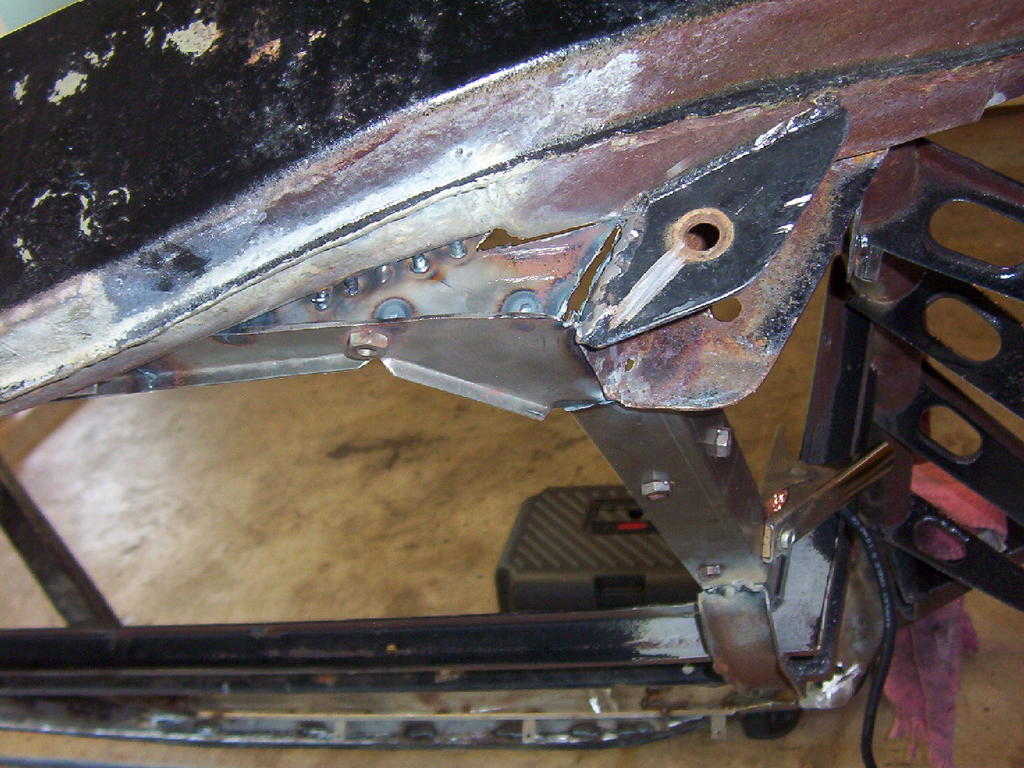 Here is a view showing the bad fit-up that I was left with - see the gaps? I had to cut little slivers and weld them in to take care of this - just tedious slow work on a hot day. Blah.
The passenger side was better, although the welding was not pretty. In this shot you can see the triangle wedge piece "welded" in. I spent a few minutes on Saturday sandblasting the attachment points for the floor rails in order to have clean metal to weld to, but boy is it messy and irritating!
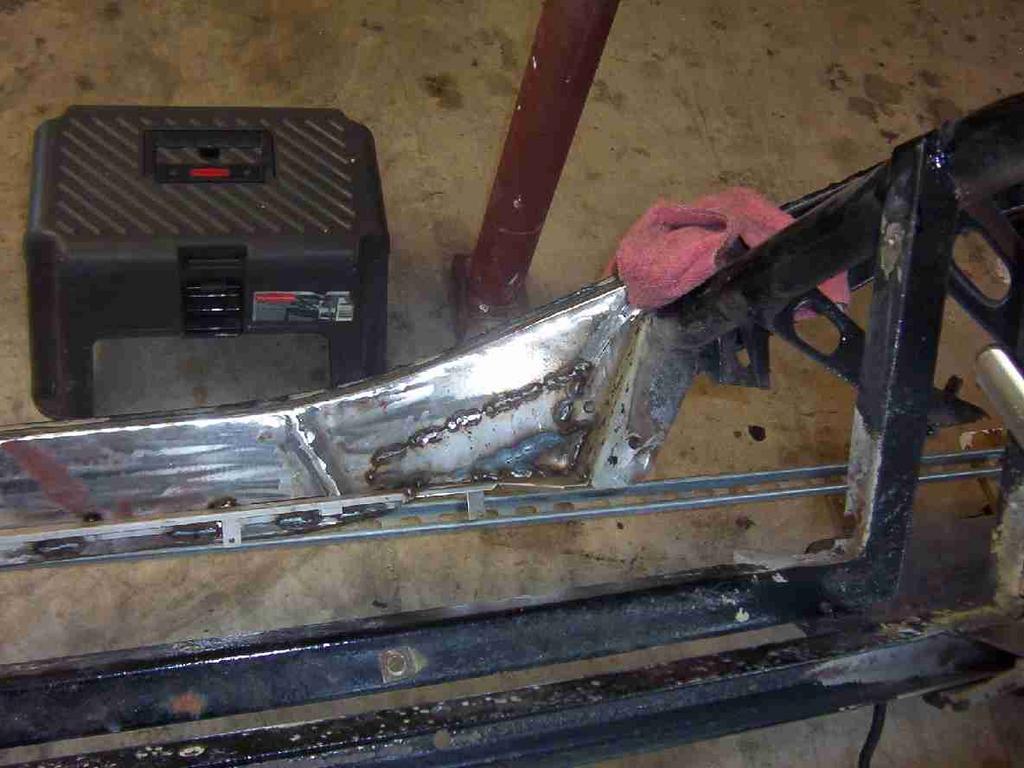
 Notice the rusted section at the corner of the center support rail. I cut this out with the air cutoff tool, and welded in a replacement. Welding in short 1/4" beads works best. This type of repair is actually pretty fun to do. After grinding it will be invisible. Speaking of grinding, I bought a new 4-1/2" angle grinder off ebay for $7.99, including sanding/cutting discs! So now I won't constantly have to change wheels on my one grinder - what a deal! I still need to buy an angle die grinder though to get in the corners to clean them up.
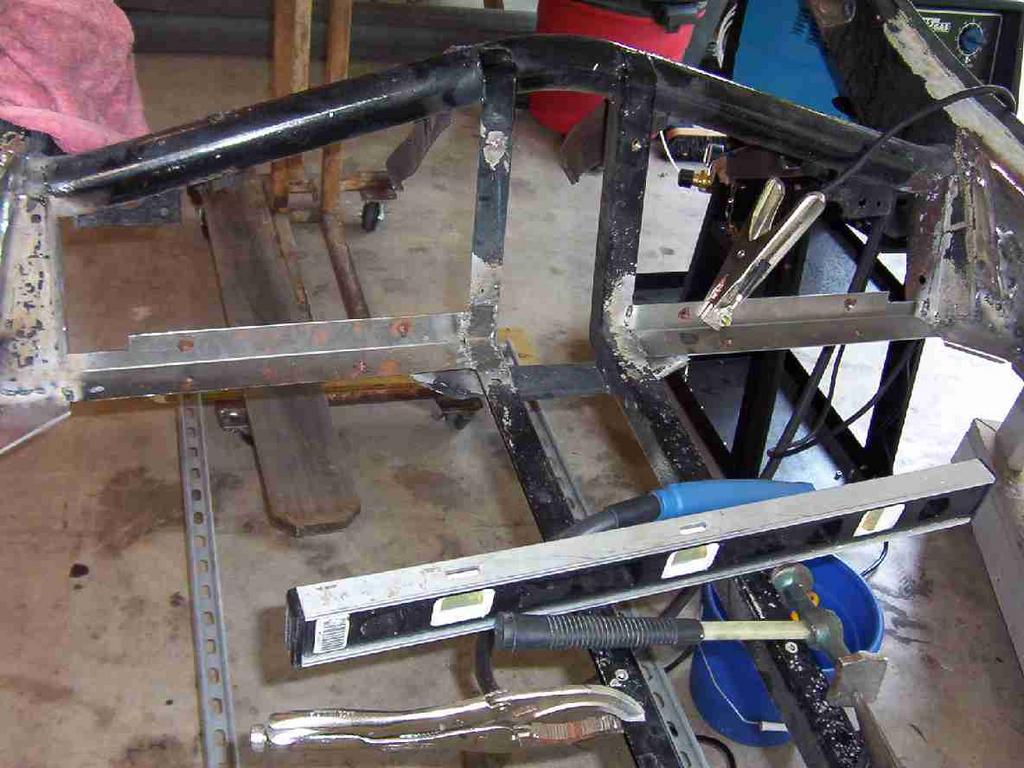 Finally, here are the rear rails welded in. Alignment and fitup was a bit tricky, and it would have helped to look at another MGA; however, my book helped some. I need to fabricate the dogleg support pieces that go up and around the spring hanger, as Todd Clarke doesn't show them in his catalog, and Moss wants almost $30 apiece for them. I should be able to make them in 16GA pretty easily. To get the rails properly alighed, I set the frame level, then leveled the side rails off the center rails and worked around.
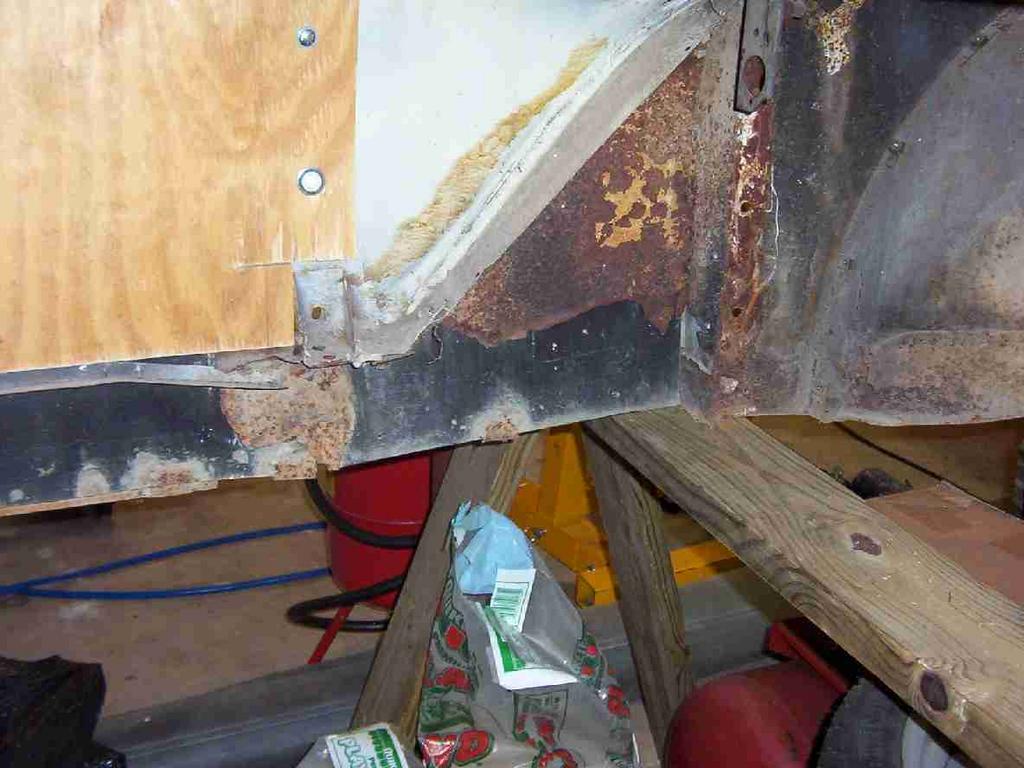
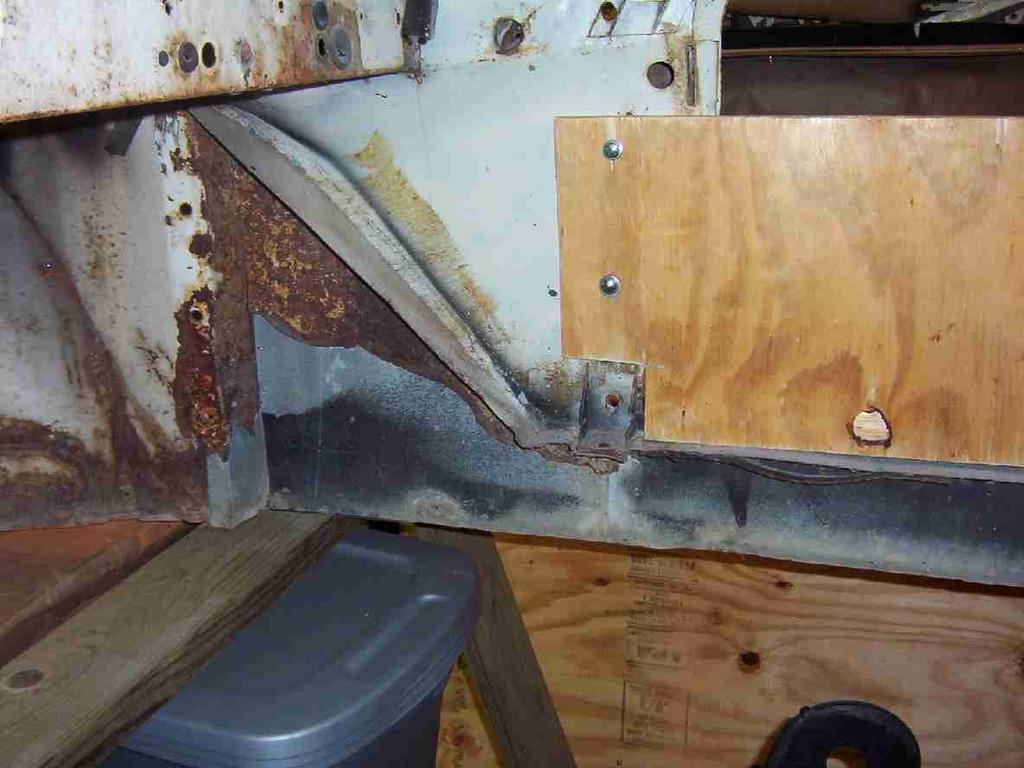 While I was taking the body tub picture, I decided to take some pics of the insides of the sill areas just for fun. Here you can see the amount of metal that will have to be replaced, particularly in the front body corners. Not all that difficult to do really, because if you can make a short sheetmetal weld, you can make a longer one - right?
posted by Jim | 8:09 AM
![]()
1 Comments:
Looks good, Jim!
I just started restoration of a '65 MGB across the highway in Imperial Oaks - your blog is inspirational.
-Mike
Post a Comment
<< Home