
Progress - September 12, 2005
============================================================================== September 12, 2005
============================================================================= The pressure, the pressure! Must make progress to satisfy the blog monster.....
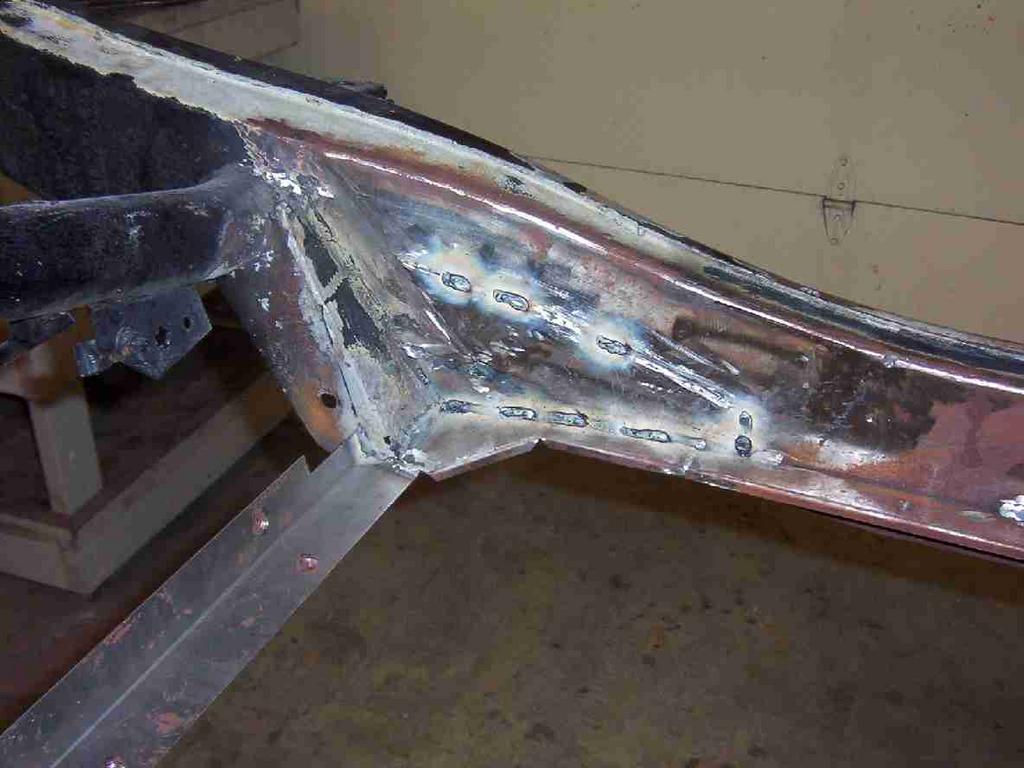
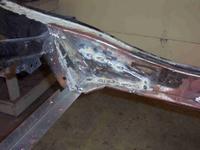 Here is the rear driver's side showing some of the final welding. I am a bit concerned about the structural integrity of the forward rear spring attachments. Have a couple of small rust holes through, and seem strong enough, but when I try to weld the holes up, it gets pretty touch and go because the metal is thinner then spec. I really don't want to patch into these.
 Speaking of filling holes, here is a copper "spoon" that I made out of a piece of tubing. This works pretty good for backing up holes and welding them shut. The mig metal doesn't stick to the copper - doesn't even really melt into it.
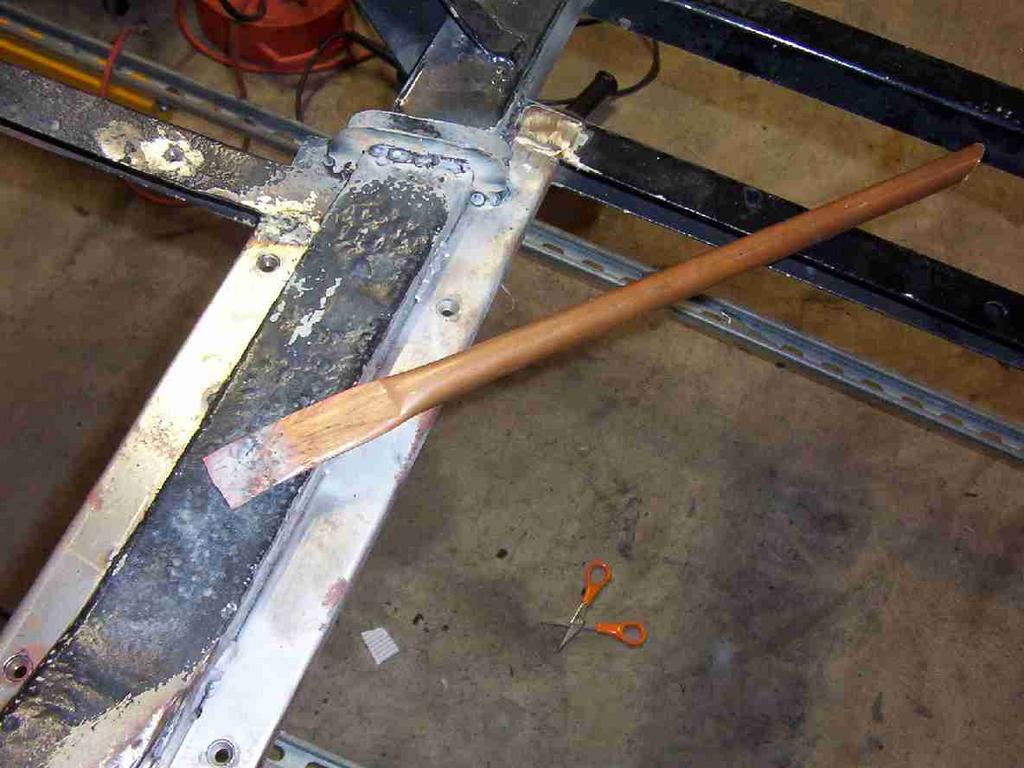
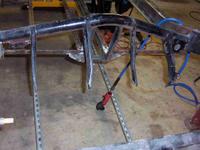
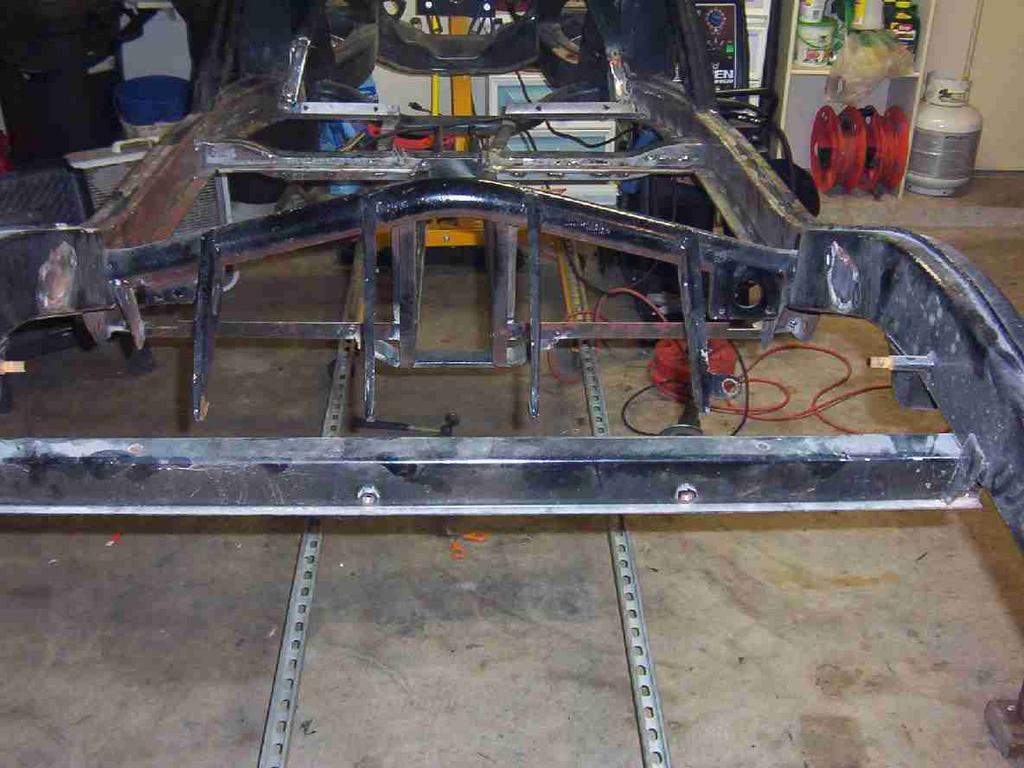
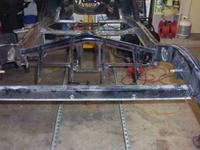 Here are the straightened brackets.
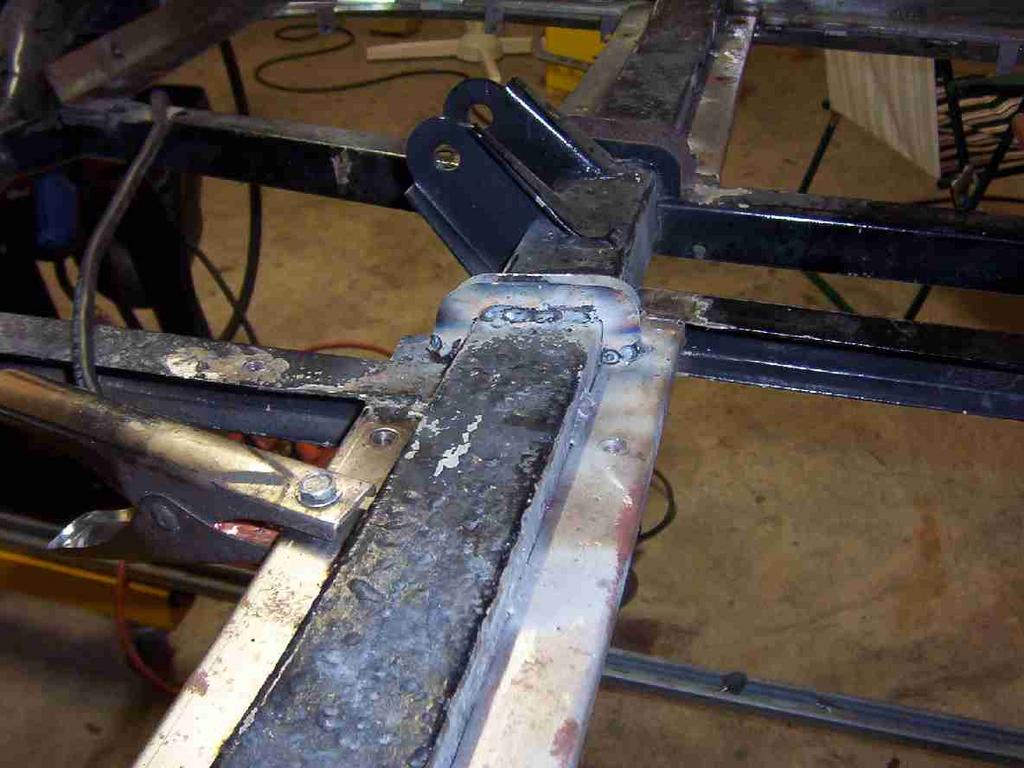
  Lastly, here is a little bracket I refabbed.
============================================================================= The pressure, the pressure! Must make progress to satisfy the blog monster.....
This last week I mostly continued the tedious weld, grind, reweld, regrind process trying to get things buttoned-up and in presentable shape. I am getting better at the welding - able to judge current and wire speed adjustments for different steel thicknesses and positions. But still need more practice to be a real craftsman. I did buy an angle die grinder, which is most useful so far for sanding with 2" disks. I have used some stones to grind on welds in tight spots, but it's slow going. I have three double-cut carbide burrs on order to try, so we'll see how fast they cut and how long they stay sharp; the sizes that I bought are about $11 or $12 apiece (www.carbidebur.com).
.
I fabricated two short sections of the front kick panel support rails using some scrap 16 ga steel that I had left. So far, I have used only two small pieces of 16 ga bought at Home Depot - about $10 worth. I even butt welded two scraps together to get a large enough piece - how's that for being cheap?
. 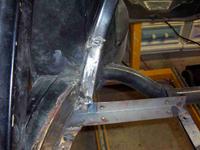

Here's the driver's side. I made the piece with the correct rolled edge and the flange to weld to the frame rail. Still needs final grinding/sanding.
.
 Here is the rear driver's side showing some of the final welding. I am a bit concerned about the structural integrity of the forward rear spring attachments. Have a couple of small rust holes through, and seem strong enough, but when I try to weld the holes up, it gets pretty touch and go because the metal is thinner then spec. I really don't want to patch into these.
.
 Speaking of filling holes, here is a copper "spoon" that I made out of a piece of tubing. This works pretty good for backing up holes and welding them shut. The mig metal doesn't stick to the copper - doesn't even really melt into it.
.

Here are the battery brackets - all 4 of which are bent. I guess the PO bent the ends in to match the mis-fabricated battery carriers.
 Here are the straightened brackets.
 .
 Lastly, here is a little bracket I refabbed.
posted by Jim | 2:50 PM
![]()
0 Comments:
Post a Comment
<< Home